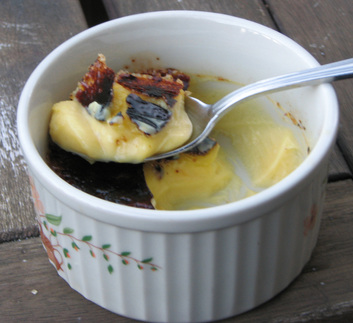
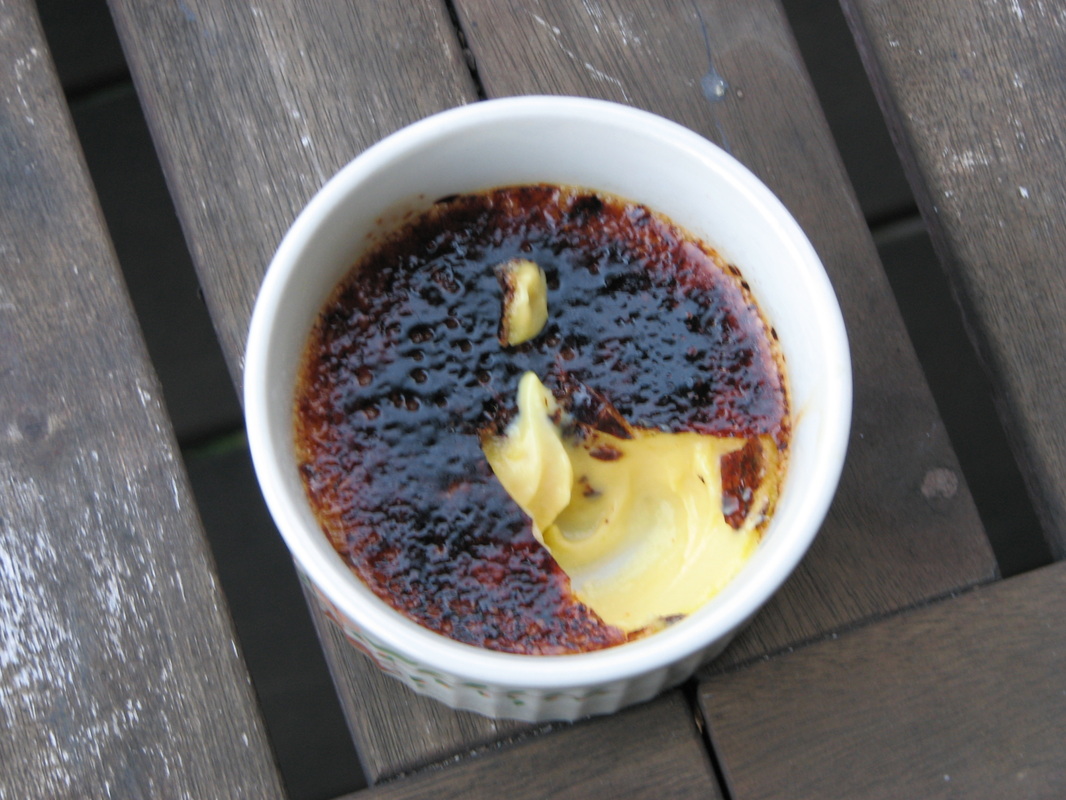
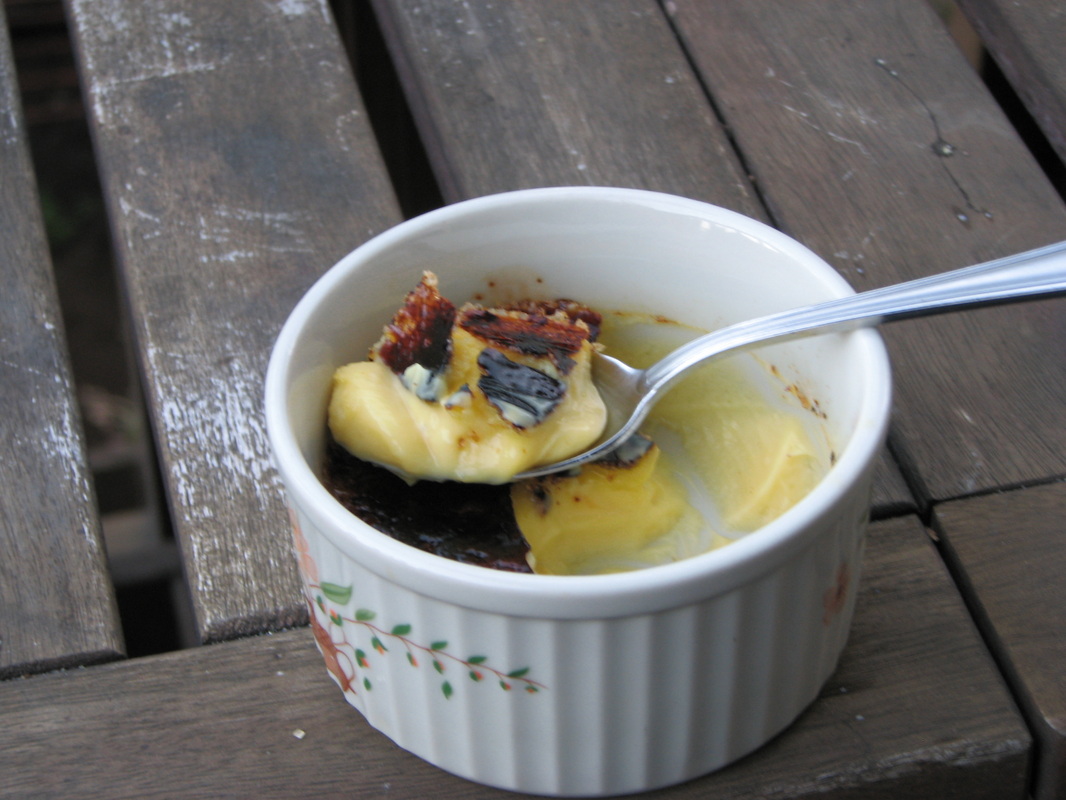
This dessert was smooth, silky, with more of a custard quality to it than other crème brulees (cremes brulee?) I’ve had before. This crème brulee blew away all the others I’d ever tasted. As I spooned the custard reverently into my mouth I became convinced that the key was a higher egg to cream ratio than “ordinary” “american” cremes brulee, such as those served in steakhouses. Yes, a quality steakhouse can serve a fabulous crème brulee, but this one was a revelation. These French people know their business.
Oh, and I had promised you a food high in vitamin D. This is it! Aside from oily fish (which make dubious dessert ingredients) and artificially enriched dairy, egg yolks naturally contain vitamin D. Crème Brulee, the most delicious health food around! Click to read more -------------------->
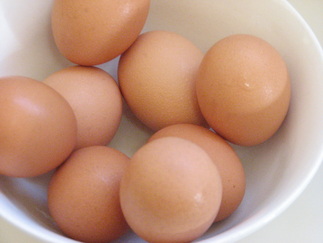
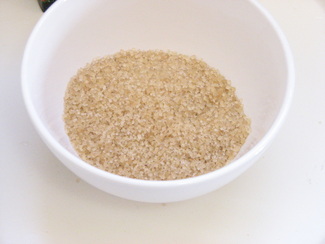
| Miz Gee's Rich Vanilla Creme Brulee Recipe adapted from Cooking for Engineers Equipment: 2 medium mixing bowls Measuring cups Measuring spoons Fork Saucepan Mesh strainer 6 ramekins 9 x 13 pan Kettle Pot holders Tongs Hand, or kitchen torch Ingredients: 2 cups organic heavy cream (1 pint carton) 8 large organic egg yolks 1/2 cup turbinado sugar 6 teaspoons white sugar for topping 1/2 teaspoon vanilla extract |
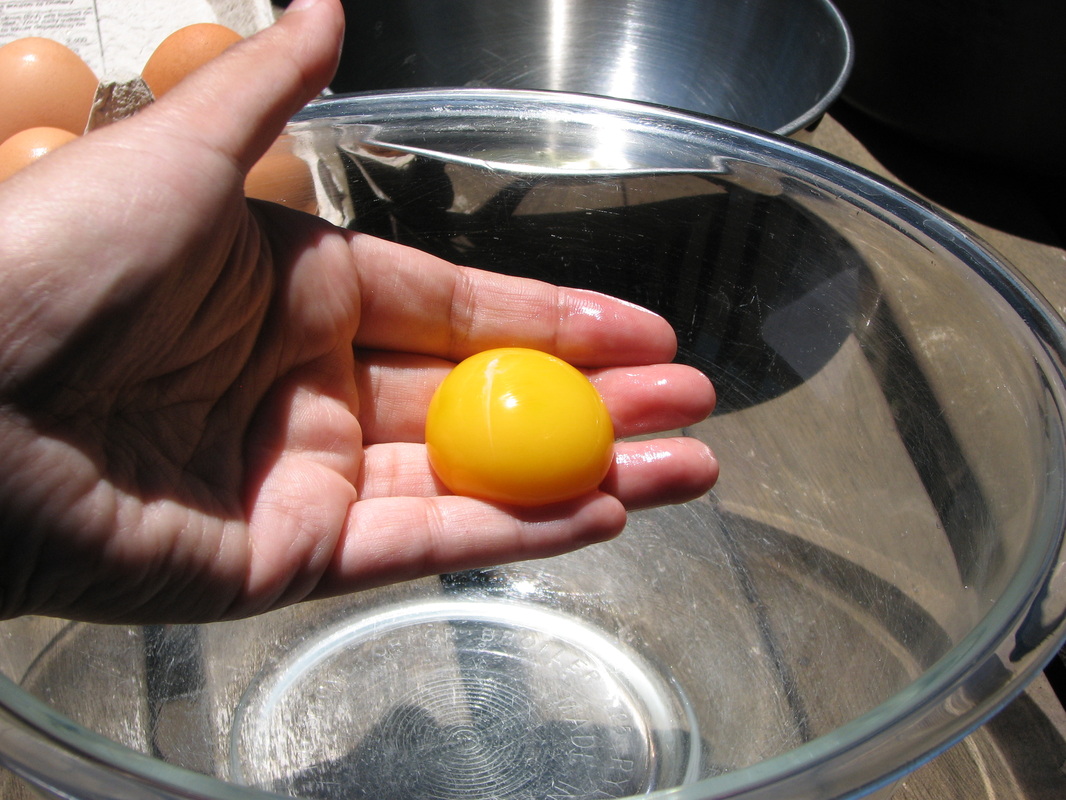
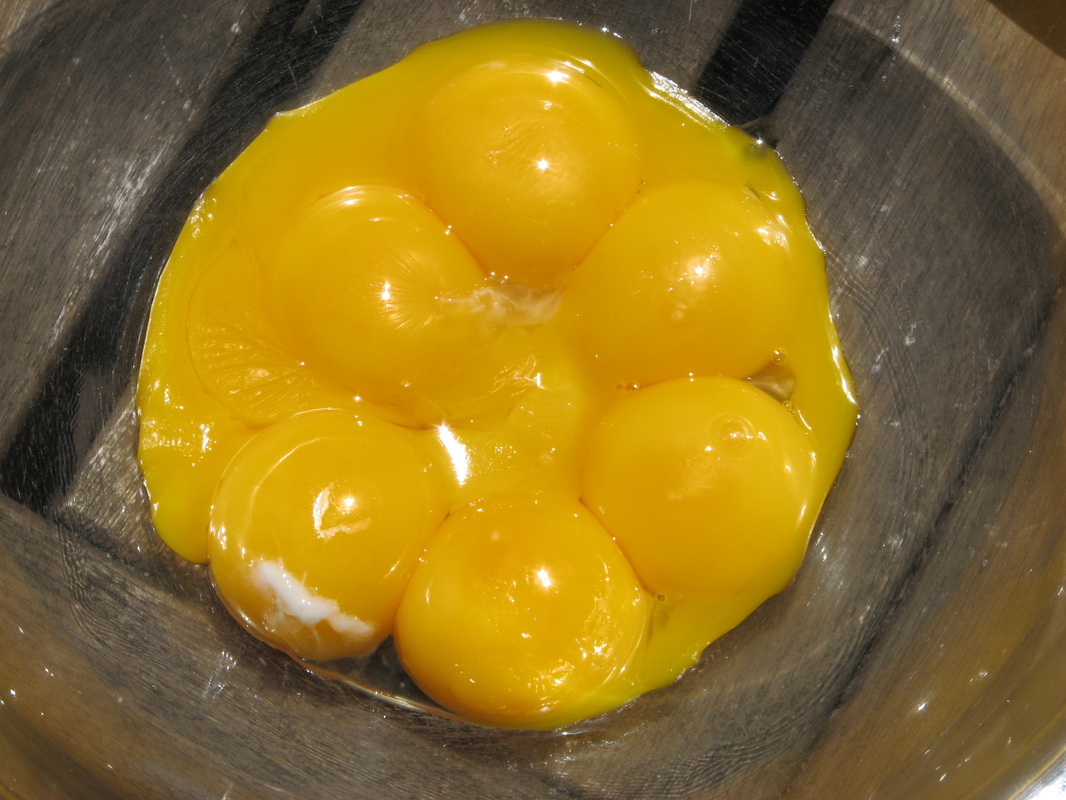
- 1. Separate the yolks from the whites, collecting the yolks in the bowl you intend to do your mixing in. I like to crack the eggs into my hand and let the white drip through my fingers. It makes things a little tricky to photograph, though. The egg whites I like to make into a scramble. On the day I baked my crème brulee the scramble contained onions and smoked salmon.
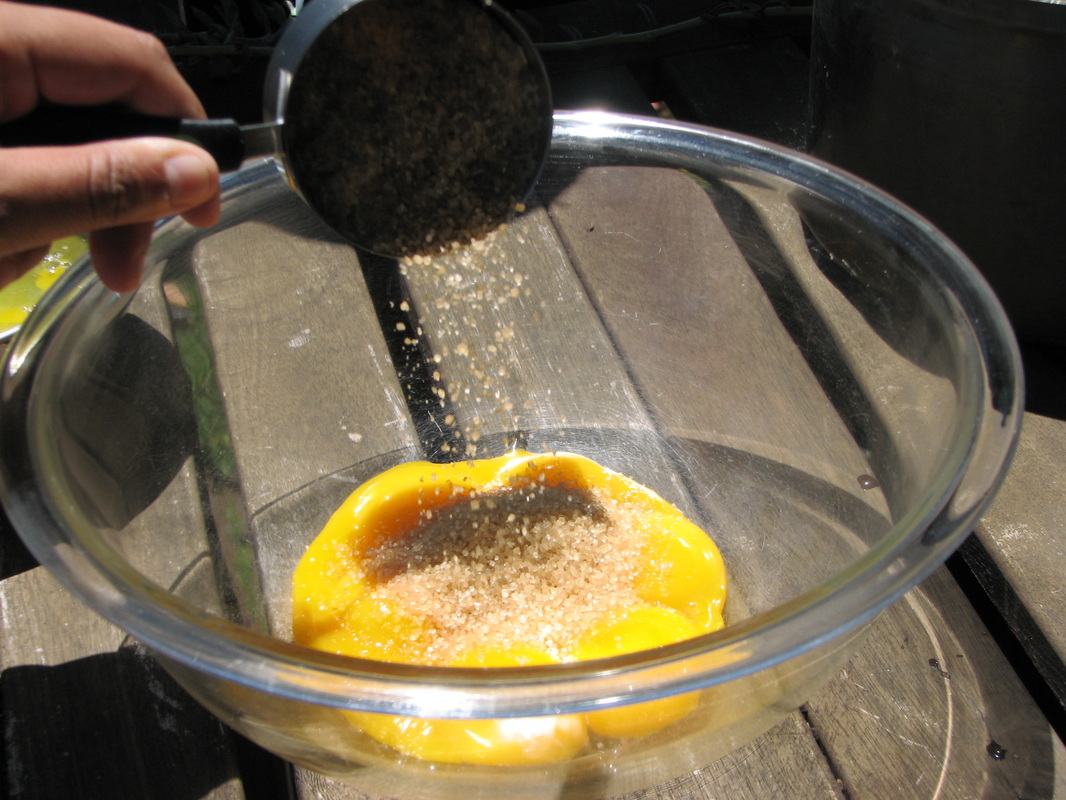
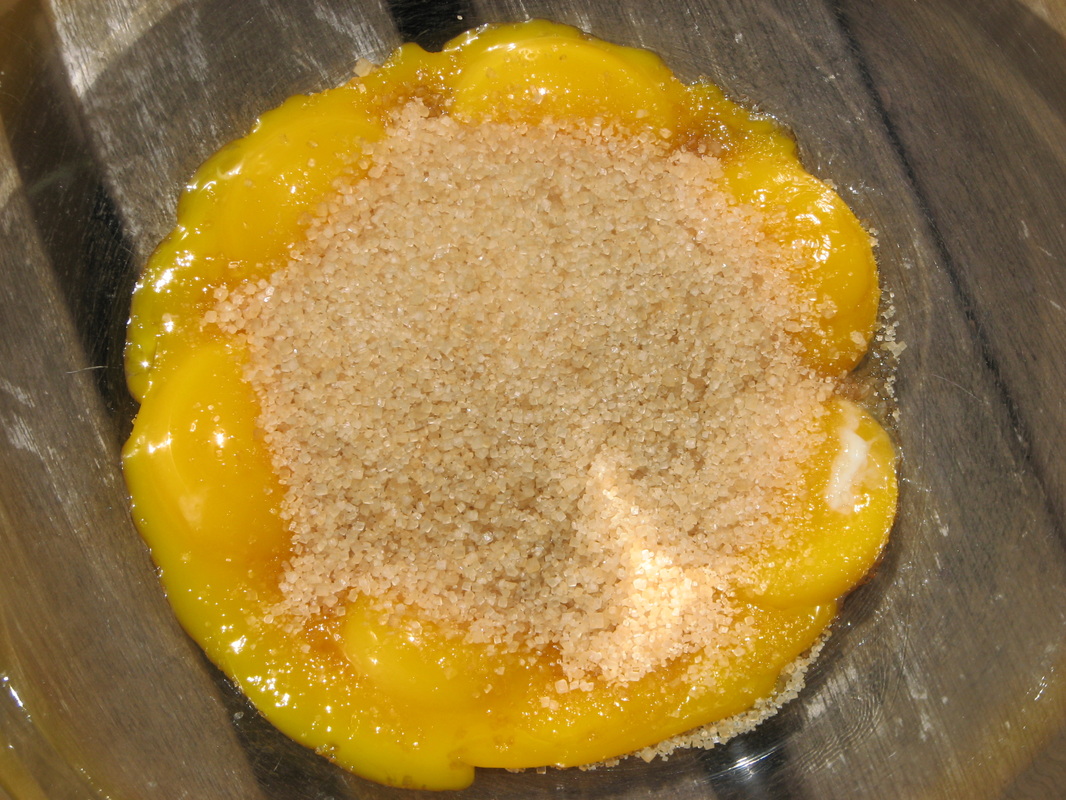
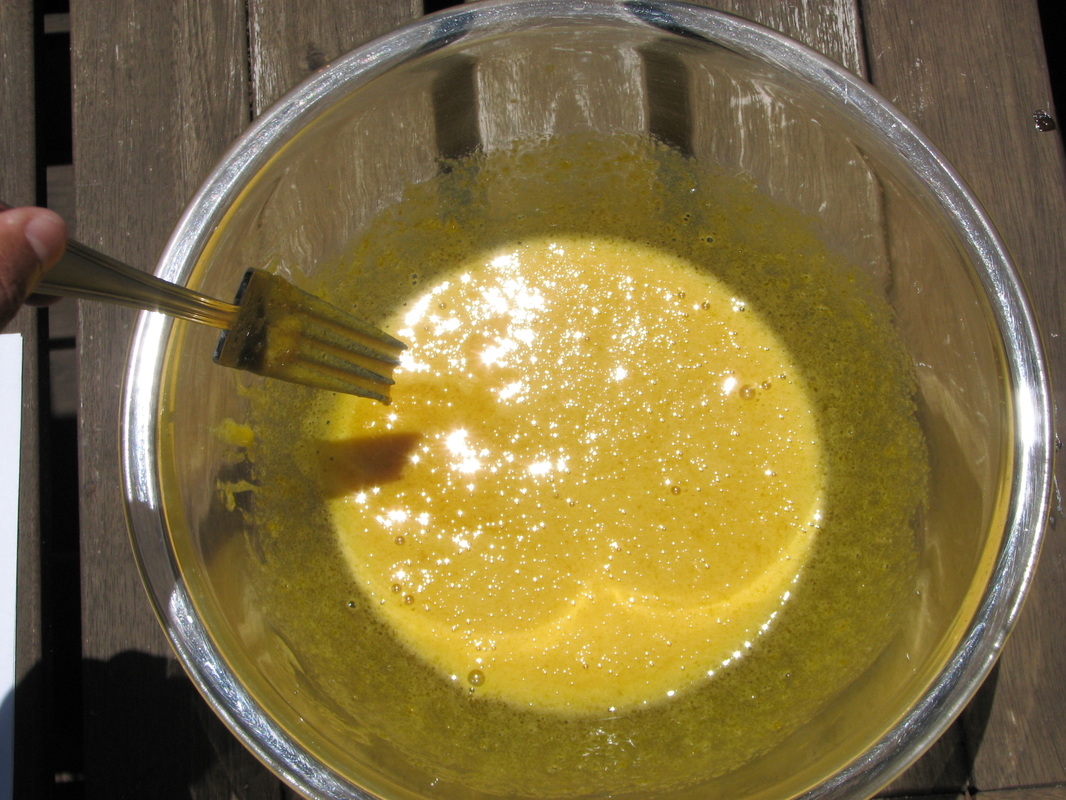
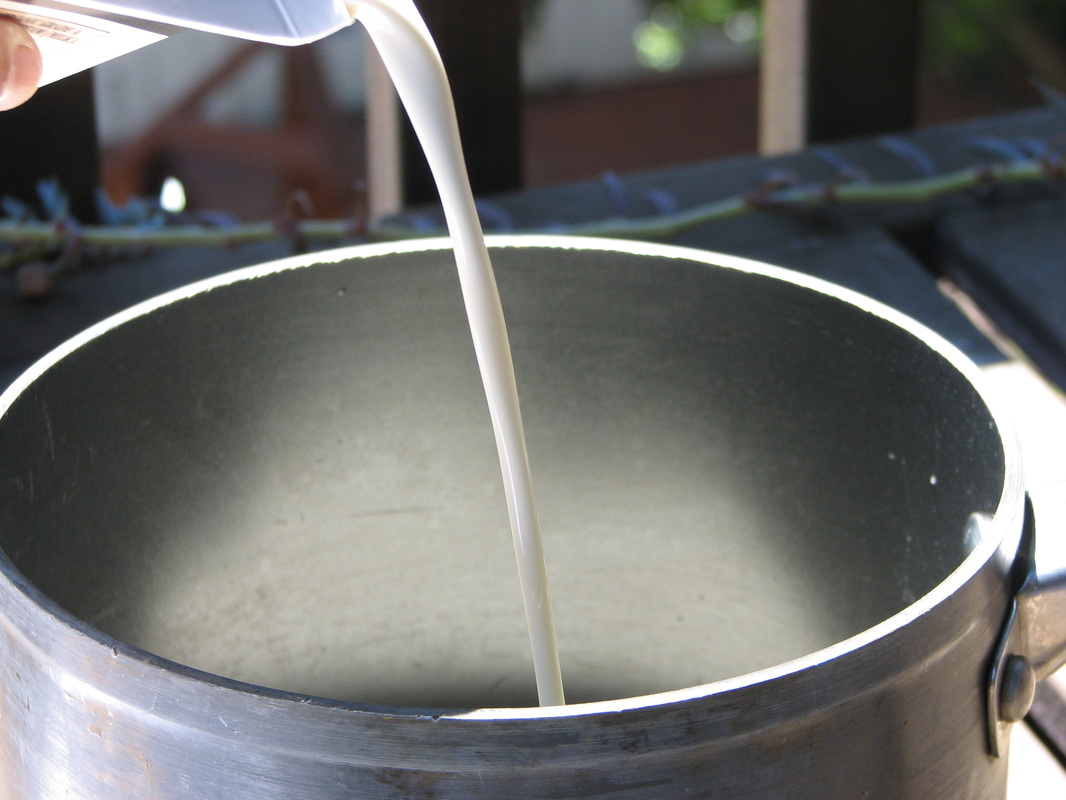
- 2. Sprinkle the sugar over the yolks and blend together with a fork. Set aside. Pour the cream into a sauce pan and heat over a medium flame until bubbles form around the edge of the pan. Honestly, I didn't watch the cream particularly closely and it almost boiled over. Oops. If your cream boils, or simmers just let it cool for a bit before moving on to the next step.
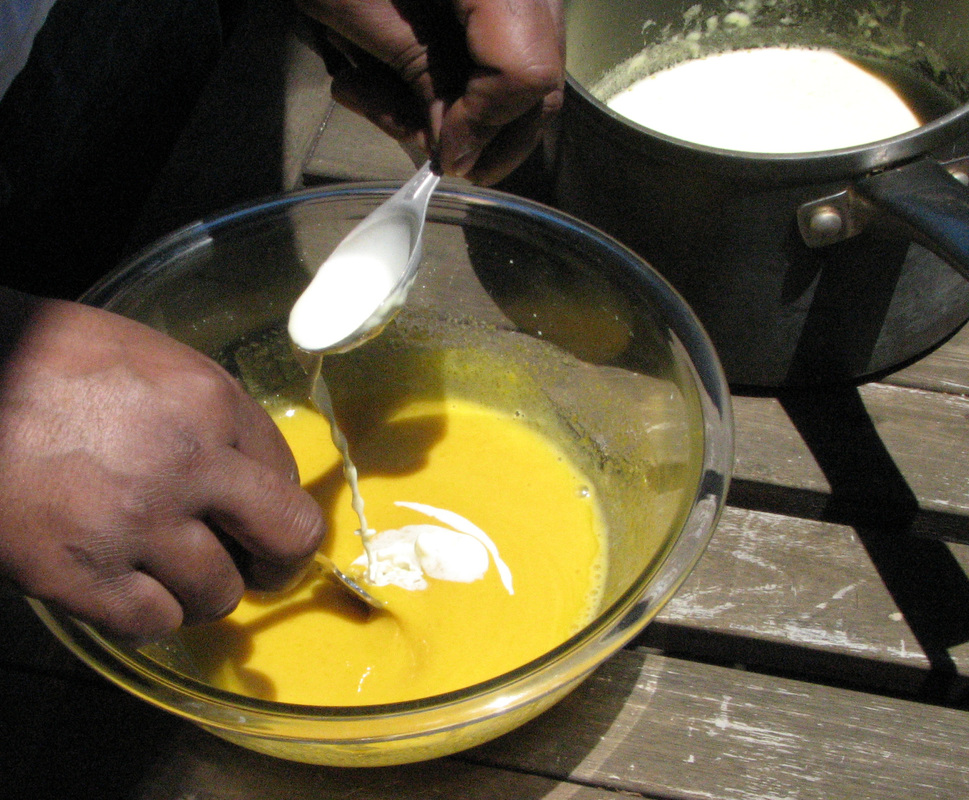
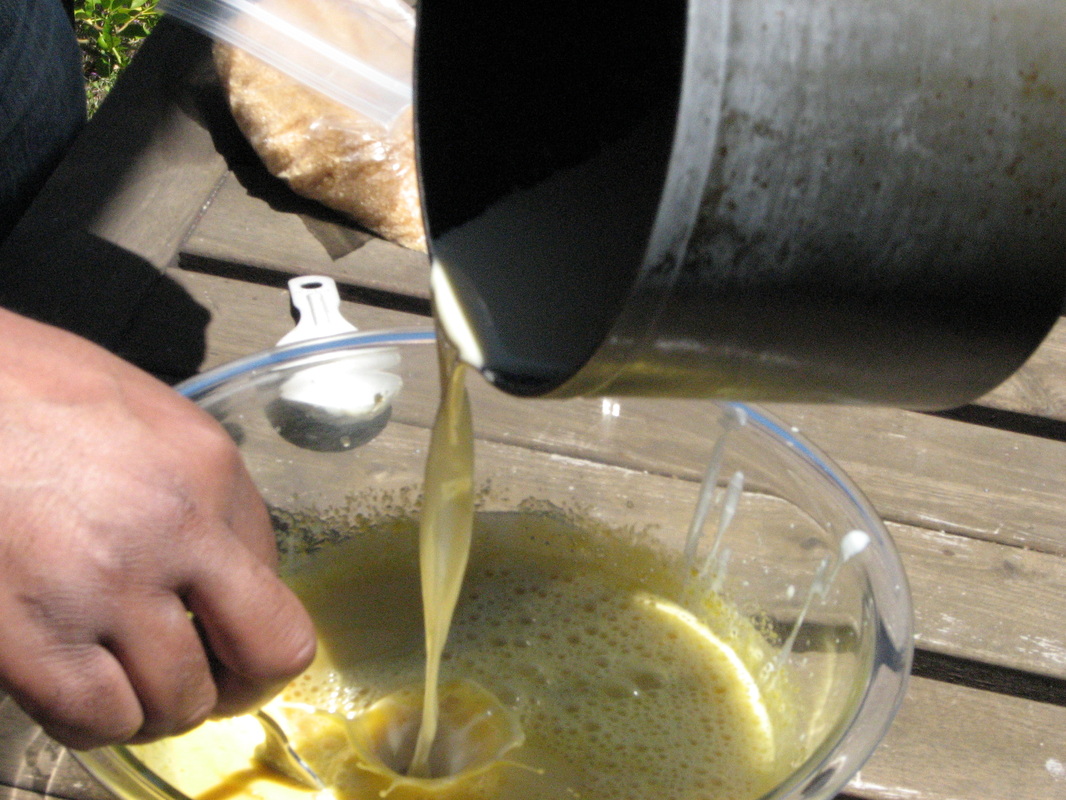
- 3. Now that the cream has warmed through add a spoonful to the yolks and mix it in. This is to temper the eggs and prevent them from coagulating, or scrambling on contact with the heated cream. Add more cream little by little a spoon at a time until you've mixed in 4-6 spoons full. At this point the yolks should be ready to incorporate into the rest of the cream. Pour the yolk/cream mixture into the saucepan and stir everything together until smooth.
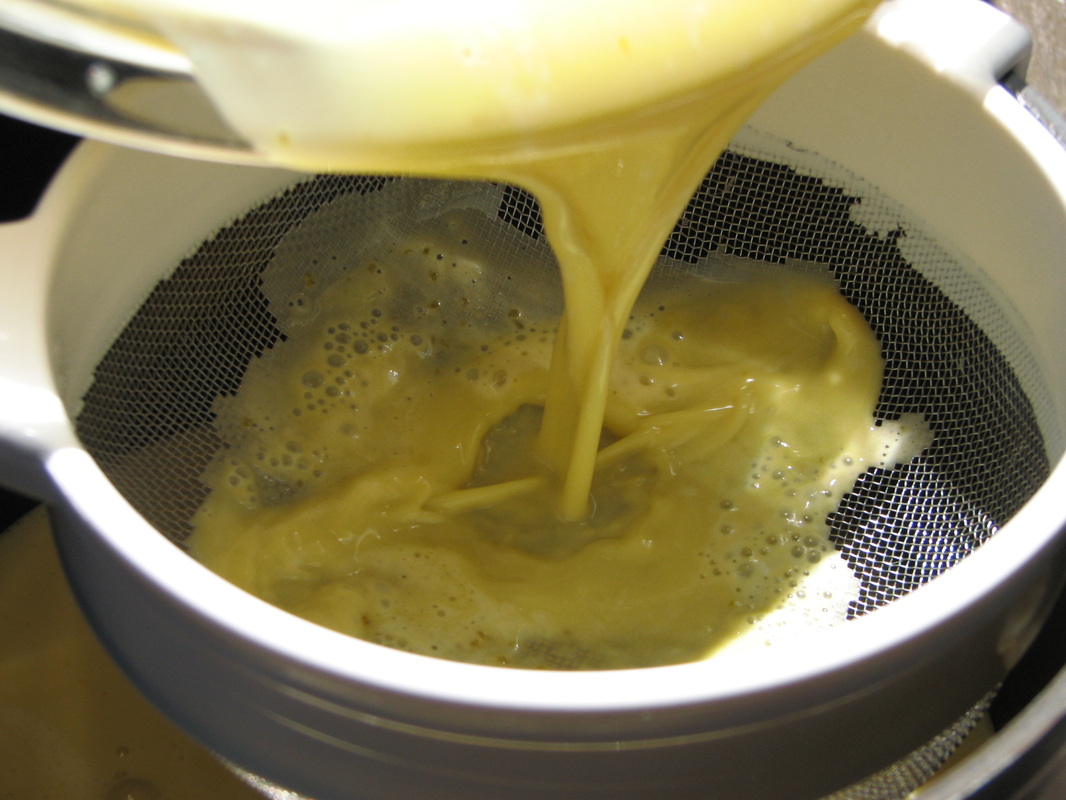
- 4. Hooray! You've almost got custard! Clean your mixing bowl and take out your mesh sieve. Strain the custard mix back into the bowl to remove any lumps that may have formed despite your egg tempering efforts. This step will help ensure a silky texture to the custard. Before you forget (like I actually did) add the vanilla. Now you are almost ready to bake your custards.
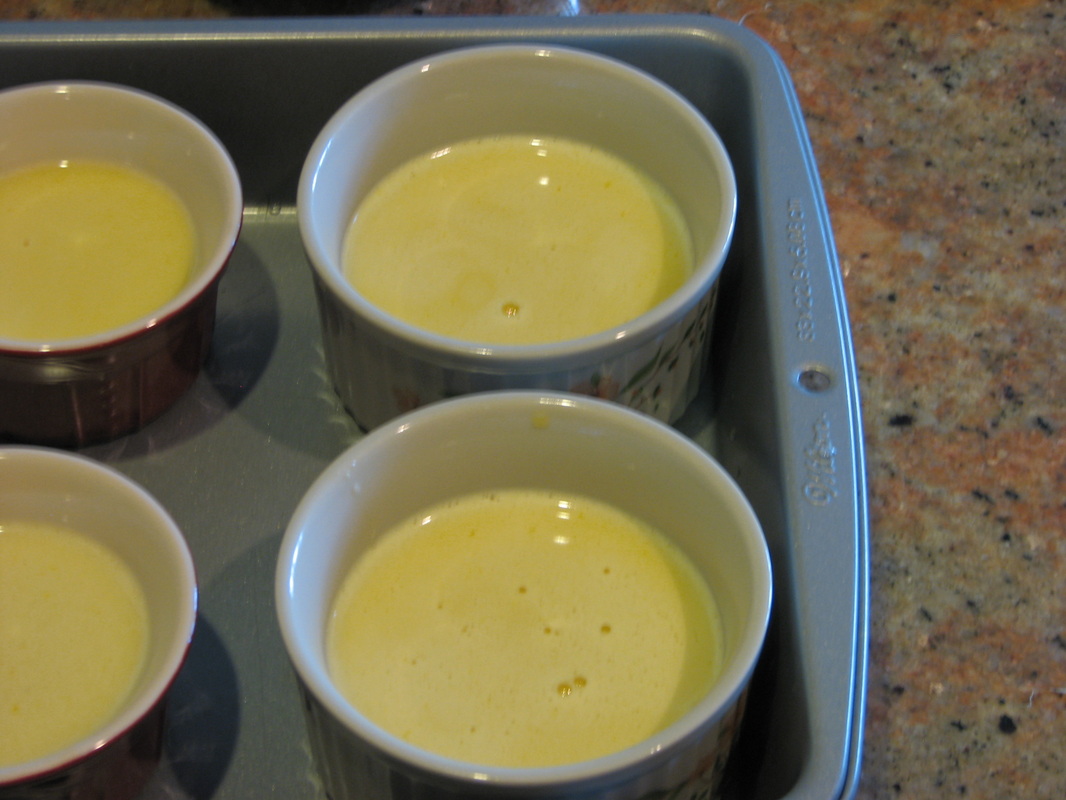
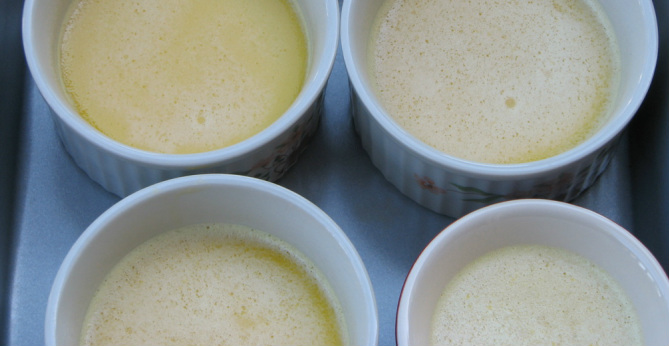
- 5. Preheat the oven to 325 Fahrenheit. Put the kettle on to boil. Pour the mixture into six to eight ramekins depending on size. (Makes a little more than eight four-ounce cremes brulee.) I filled six four-ounce ramekins and two six ounce ramekins (the six-ouncers were not full). Place the ramekins in a baking pan. Pour boiling water into the pan (be careful not to get water into the ramekins), so that the water level is halfway up the sides of the ramekins. Cooking the custards in a water bath will provide a low even temperature for the custards to cook evenly and set properly. Place in the oven for about half an hour.
- 6. After an hour, check to see if the custards are done. We want them to be set on the outside edge, but jiggly (like jello) at the center. Carefully pick up a ramekin with tongs and shake to see if the centers jiggle. If only the center jiggles a little, it's done. If the whole thing is set, remove immediately - it'll be a little over done, but still delicious. If it's not done, just put it back in the water bath and check again in ten minutes. Once the custards are done, let them cool on a cooling rack to room temperature. This will let the custards finish cooking the centers on their own. Plastic wrap the custards in their ramekins and refrigerate until chilled thru before finishing.
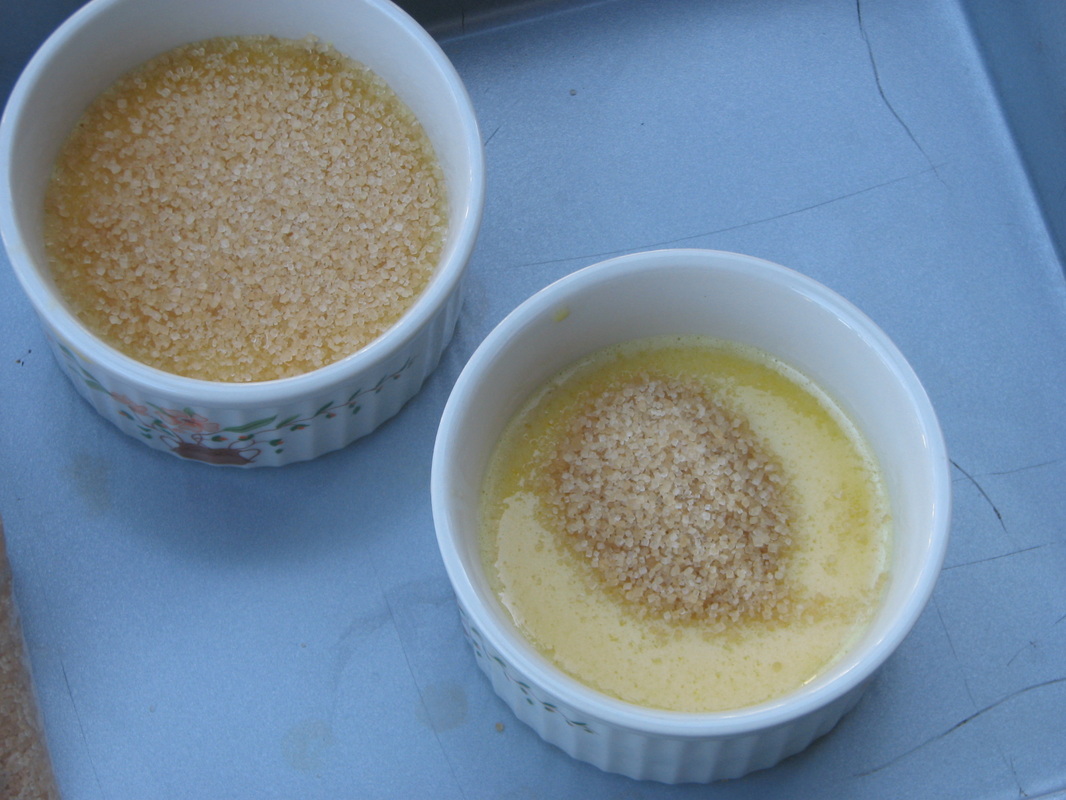
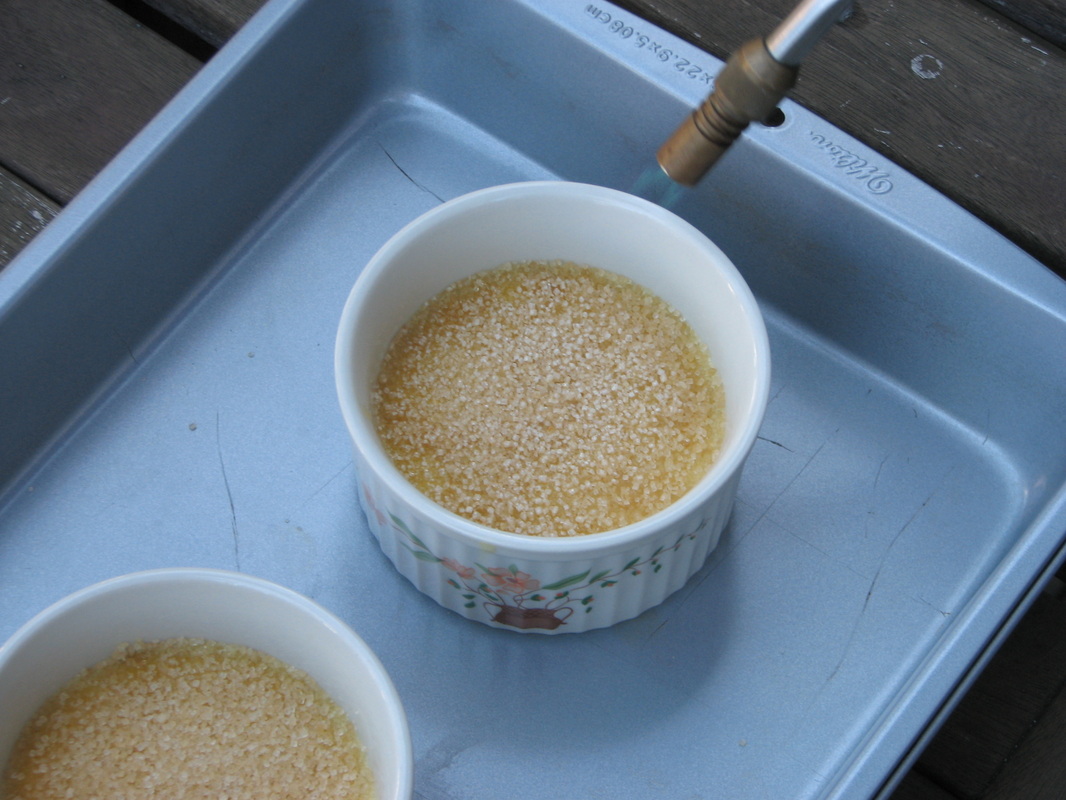
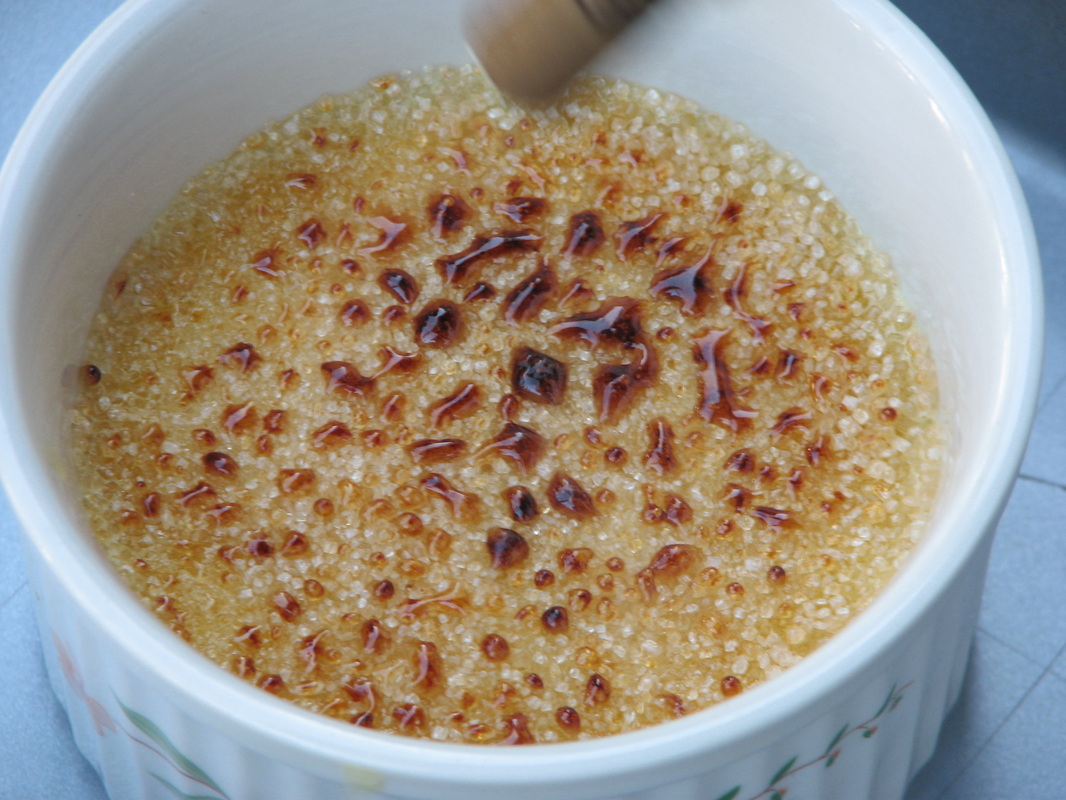
- 7. About an hour before serving, remove the plastic wrap from each ramekin and use a paper towel to gently soak up any moisture that may have appeared on the custard tops. Pour about a teaspoon of turbinado ("sugar in the raw") sugar in the middle of each custard. Tilt the ramekin and gently tilt until the top surface of the custard is covered evenly. Tap out the excess. Using a hand torch (I borrowed my roommate's soldering torch), heat the sugar until it bubbles and changes color. I take my time and don't move from one side of the creme brulee to the other until the spot I've been working on has achieved the brown color that I want. Don't worry about heating up the custard underneath, the creme brulee will chill in the fridge again for a bit before serving. Do worry about lighting your kitchen counter on fire. Here you baking pan can serve double duty. Flip it over and use the bottom as a platform for your pyrotechnic needs.
- 8. The cremes brulee must cool again before you can eat them. Chill them for another hour... or as long as you can stand. Then prepare yourself for what you are about to experience. Turn off the lights and light a candle. Get cozy. There is nothing as satisfying as the first crunch of the spoon thru that burnt candy layer on top of luscious custardy goodness. The best thing about making your own (aside from the fit of giggle wiggles that will overtake you when you realize OMG YOU MADE THIS!) is that you can customize it to your taste. The turbinado layer too thick and intense? Try a thin veneer of white sugar. Do it the way you like it. There ain't nothing wrong with that, baby.

 RSS Feed